After testing the web version of the autonomous AI coding agent Codex (blog post), I ran into one limitation: the agent could only access projects hosted on GitHub. But now there is an exciting new development: Codex CLI. This tool lets you run the agent directly in the terminal on your own machine. Of course, I immediately took a closer look.
Installation and Setup
Setting up Codex CLI could hardly be easier. On a Mac, you can conveniently install it through Homebrew; alternatively, npm is also available.
npm install -g @openai/codex
or
brew install codex
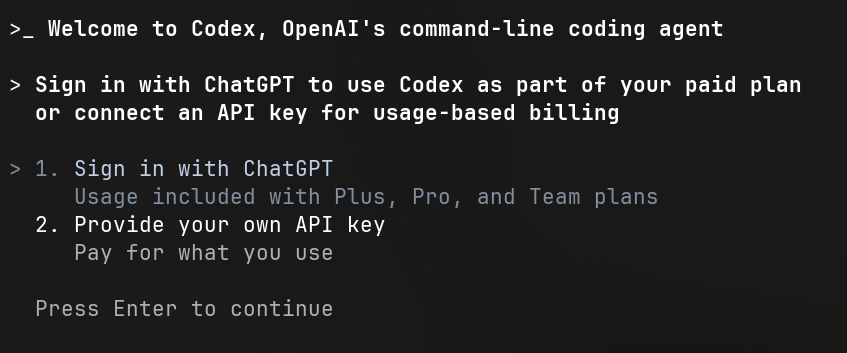
After installation, you need to provide your OpenAI API key. Here, you have a choice: either pay based on usage or use your existing OpenAI ChatGPT Plus subscription. I chose my subscription. Surprisingly, I could not find any precise information online about limits, quotas, or session durations. During my extensive tests, however, I did not run into any noticeable limits, which suggests a fairly generous policy.
One particularly exciting detail: the GPT-5 model was already running in the background during my tests. And to give away the conclusion: the results were consistently impressive. All the changes the agent made were not only usable; some are already in use in production software.
The First Coding Session
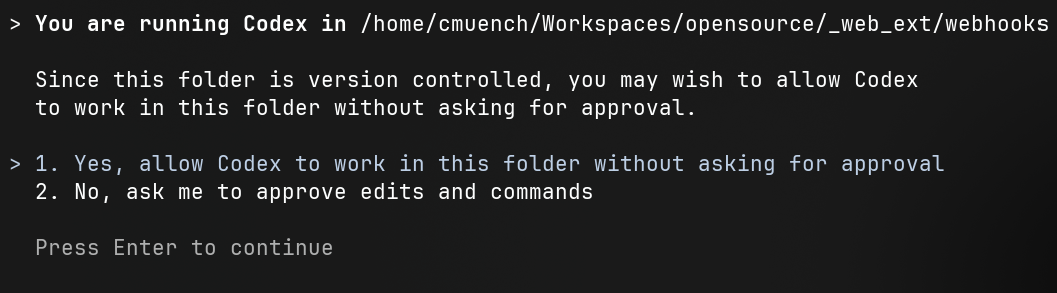
So how do you start coding with Codex CLI? Open a terminal, navigate to the desired project directory, and start the tool with this simple command:
codex
This is followed by a straightforward, interactive authentication process. I chose "Sign in with ChatGPT", which opened a browser window where I could approve access. Immediately afterward, the CLI session was ready for my first prompt.
Important Slash Commands
Several useful "slash commands" are available within a session:
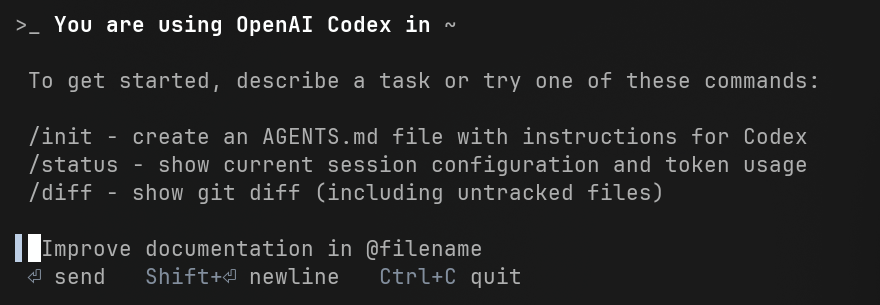
/init: This command lets you generate a kind of system prompt for the agent. Codex then creates anAGENTS.mdfile. Ideally, though, you will already have created this file beforehand and given the agent precise instructions, preferences, and coding standards in it./status: Shows information about the model in use and how much of the context window is occupied. Interestingly, my context was never even close to full. The agent seems to work very efficiently here, which is certainly also thanks to the GPT-5 model./diff: Lists all the changes the agent has made in the project.
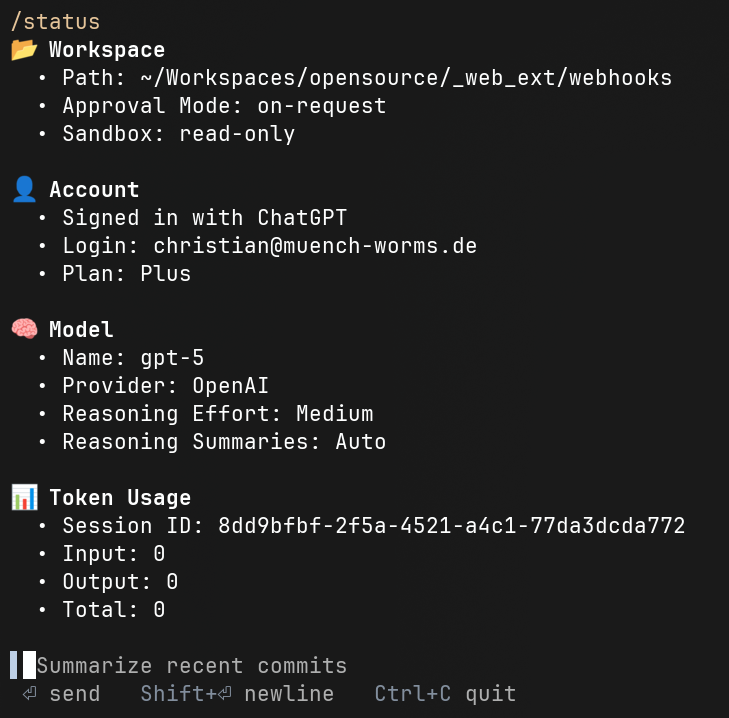
If you simply enter some text and confirm with Return, the agent interprets it as its work instructions. It could hardly be easier.
There are more slash commands, such as:
/compact: Creates a summary of the current context and makes it more compact. This effectively lets you recreate and shrink the context./mention: Instructs the agent to look at a file you specify./new: Starts a new session with a new context.
Codex in Action: Two Practical Tests
The agent does exactly what you expect it to do. It logs all steps clearly and with good formatting in the terminal. You can either let it work autonomously or approve each command individually.
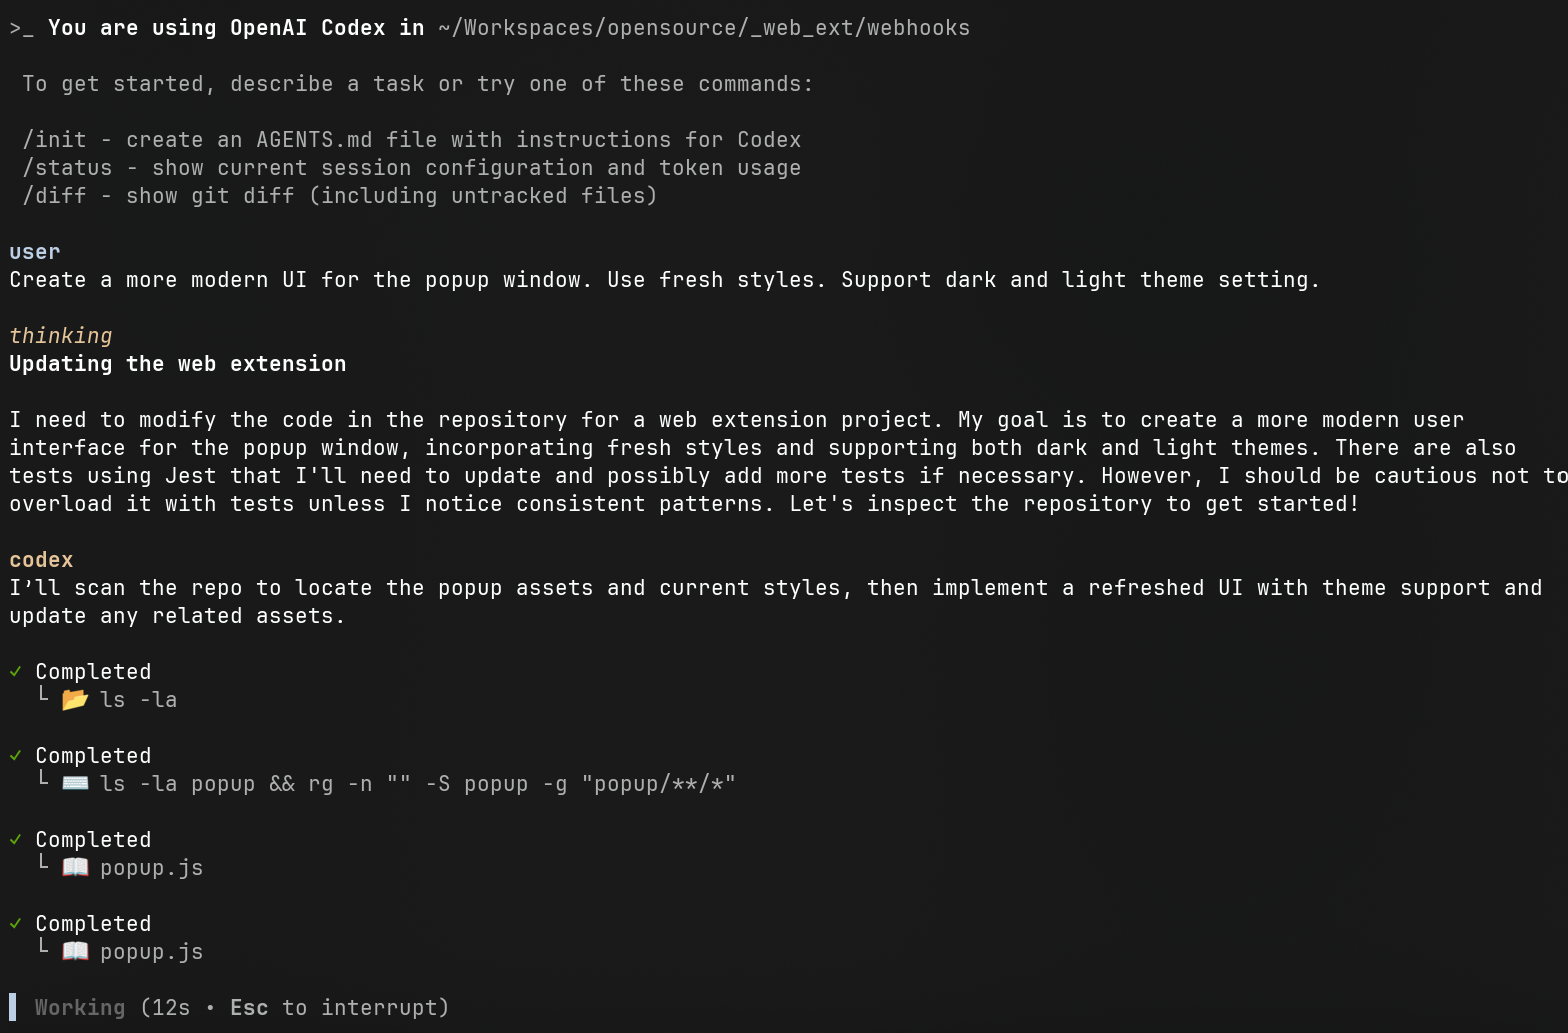
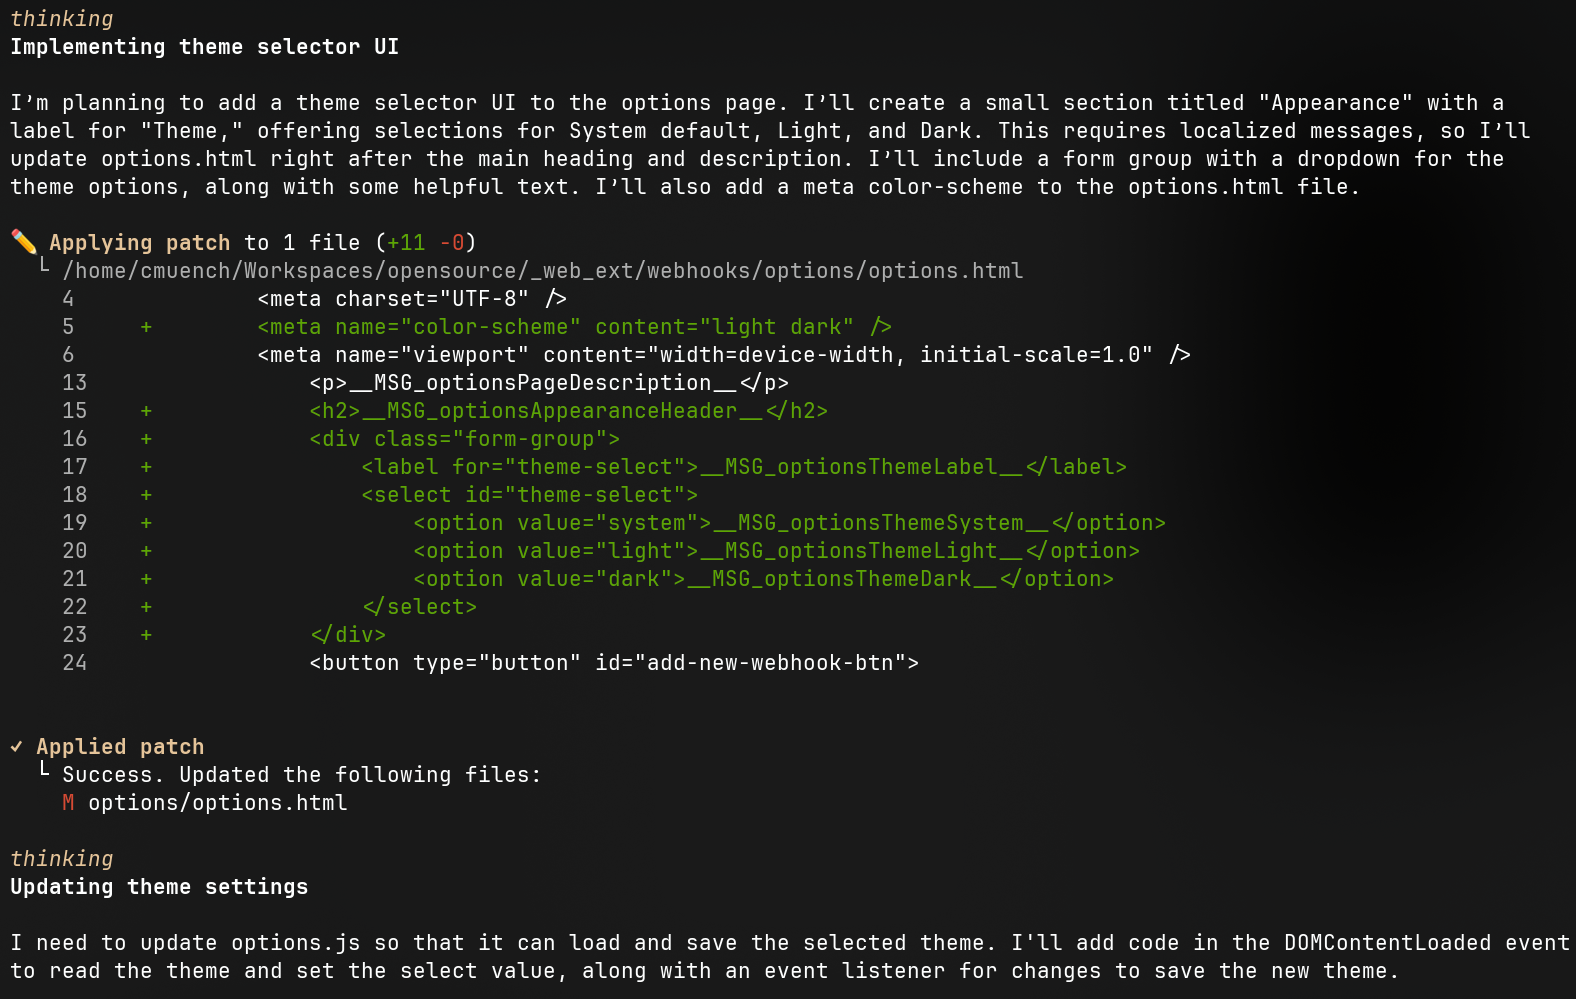
Changes to files, executed commands, and important diffs are displayed transparently. Occasionally, the agent even asks intelligent follow-up questions or suggests improvements.

It tries to fix detected errors on its own, which worked extremely well in most cases.
The agent can handle CSS too.
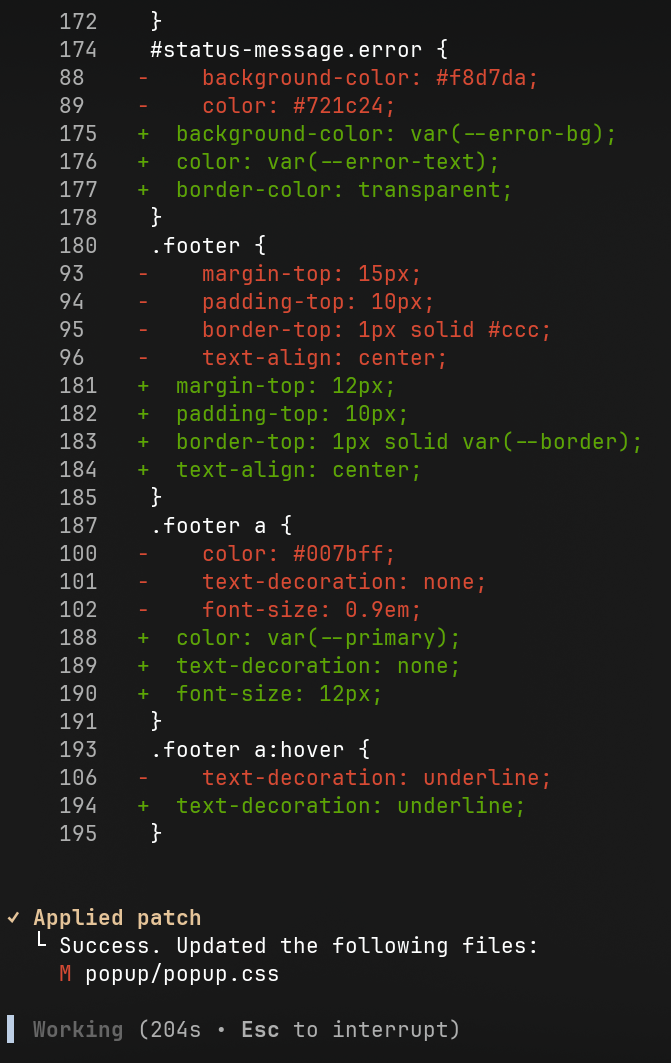
Test 1: Adding Features to a Browser Extension
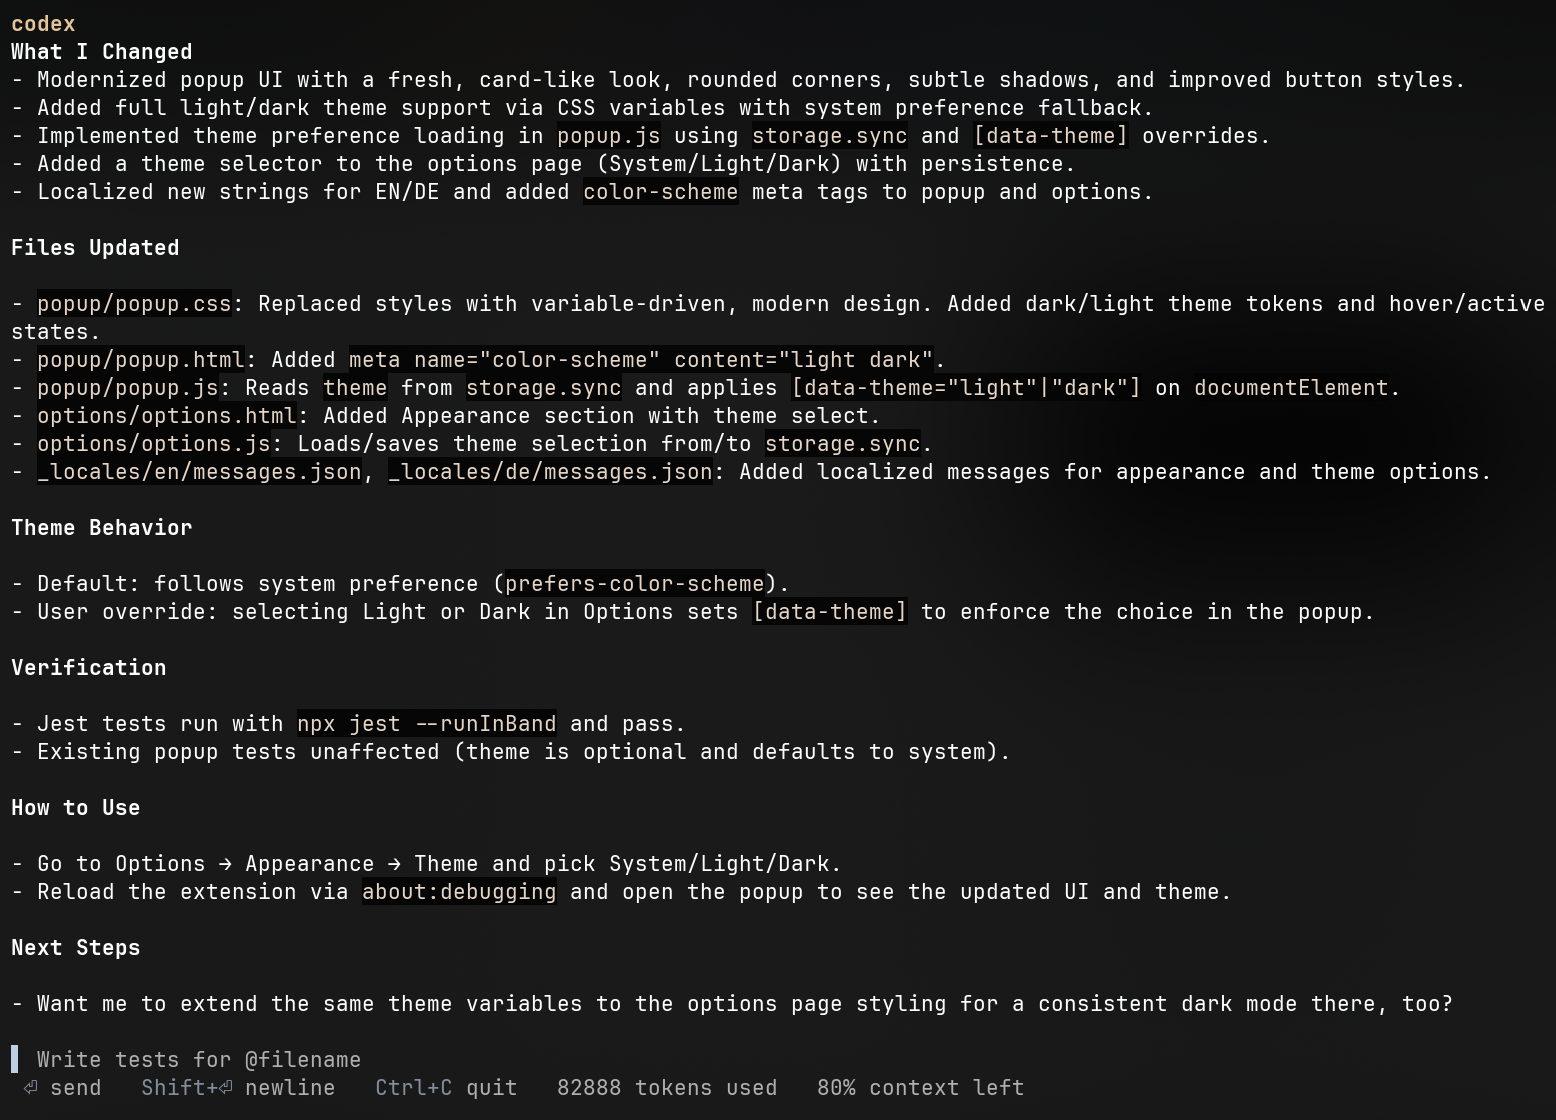
My first task for the agent was to extend a browser extension. It was supposed to implement a theme selection (Light/Dark/System) and an emoji selector for configurable webhook calls.

The result was impressive. The functionality was implemented correctly almost on the first try. Since my AGENTS.md requires creating and adjusting tests, the agent independently updated existing tests and added new test cases. Minor deviations from what I had in mind, which I had not explicitly defined in the prompt, could be corrected in the same session with a follow-up prompt. In the end, I had extensive changes to existing software without having written a single line of code myself.
Test 2: Live Ticker Software in a Monorepo
In my second test, I wanted to adapt my football club's live ticker software. The goal: maintain lineups, including shirt numbers, for each match. Clicking a player's name should then automatically insert it into the ticker's comment field.
The challenge here was the architecture: a monorepo with a Go backend (API) and two separate JavaScript applications for the frontend and admin area. Here too, Codex impressed across the board. The agent had no trouble working across applications in the monorepo within a single session. The idea for the feature came to me about three hours before the next live ticker event – and thanks to Codex, I was able to implement everything and successfully put it into operation in less than three hours.
Conclusion
Codex CLI has proven to be an extremely powerful tool. The ability to let such a capable AI agent loose on your own projects locally and directly in the terminal is a huge step forward. The combination of ease of use, an intelligent way of working, and the power of the GPT-5 model has completely won me over. For me, Codex CLI is more than just a helper – it is a true co-pilot that speeds up software development and improves its quality.
The efficient context management also impressed me.
You can see this clearly in the statistics too.