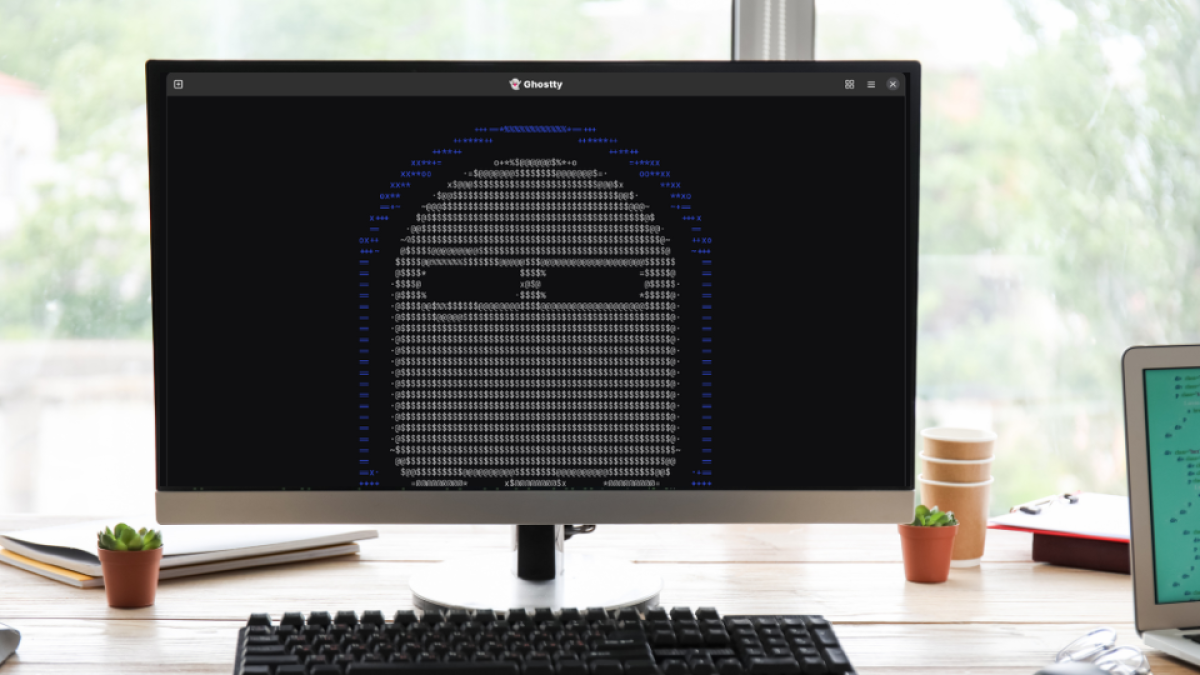
Since I work with the command line a lot, a terminal emulator is an important tool in my everyday life. Over the years, I have tested several emulators. For example, I have used iTerm2, Kitty, Alacritty, and Wezterm. Now I have stumbled across Ghostty. Actually, it was almost impossible to miss the Ghostty terminal, since so many people are talking about it. That raises the question: why? Is it just hype, or is it simply a terminal that fills a gap for many people that the other terminals perhaps could not?
The terminal's core principles
Ghostty was developed by Mitchell Hashimoto, the founder of Hashicorp. The vision behind Ghostty is to create a terminal emulator that is not only fast and functional, but also has a native user interface and works across platforms. These are exactly the criteria I need when switching between MacOS and Linux—a configuration that can be used across both systems as much as possible.
That fits very well with Mitchell Hashimoto's idea that the editor should work well on each platform even without adjusting its basic functionality. We will see in a moment whether that also holds true for my configuration.
Ghostty was written in the Zig programming language, which is now also seen as a competitor to Rust. Zig makes it possible to build very high-performance applications.
Important Ghostty features
Here are the standout features that make Ghostty an excellent choice:
Standards compliance
Ghostty places great emphasis on adhering to standards, which means it is compatible with existing shells and software. This is especially important for a consistent user experience.
High performance
Ghostty offers impressive speed when executing commands. Its use of a multi-renderer architecture, with OpenGL on Linux and Metal on MacOS, ensures smooth rendering and a high frame rate, even under heavy load.
Rendering images directly in the terminal is possible because Ghostty supports the common protocols.
With Kitty, you can display an image directly using the built-in kitty +kitten icat <pfad>. Ghostty does not seem to have a built-in function for this. But you can use external tools such as chafa.
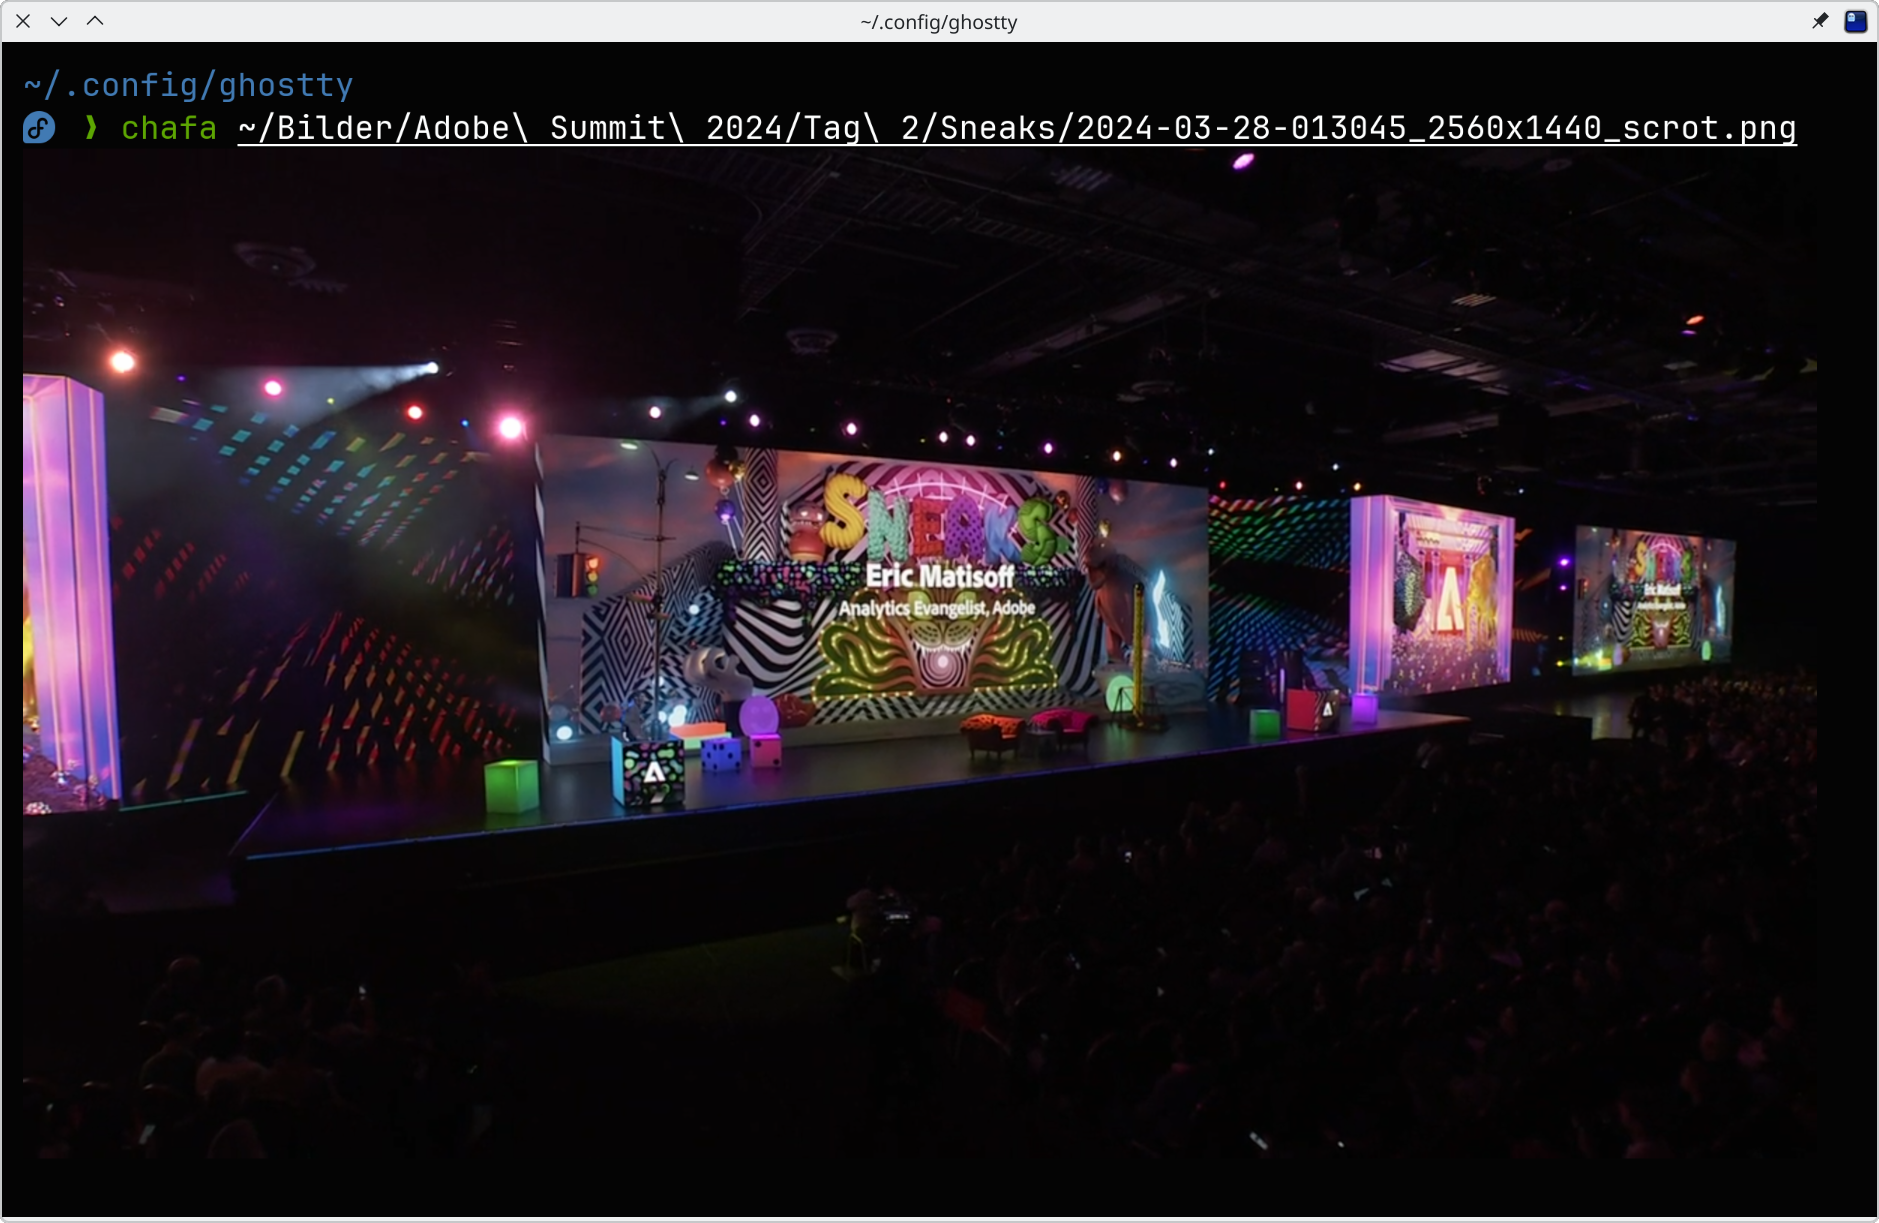
If you also have Kitty installed, the command shown above works too, since Ghostty also supports the protocol used by Kitty.
Advanced customization
Users can make basic changes, such as adjusting fonts and background colors, to personalize their working environment.
The terminal's appearance can easily be customized using ready-made themes. There are both dark and light themes. You can also configure a dark and a light theme that switch according to the operating system's settings.
Running ghostty +list-themes gives you a nice interactive preview.
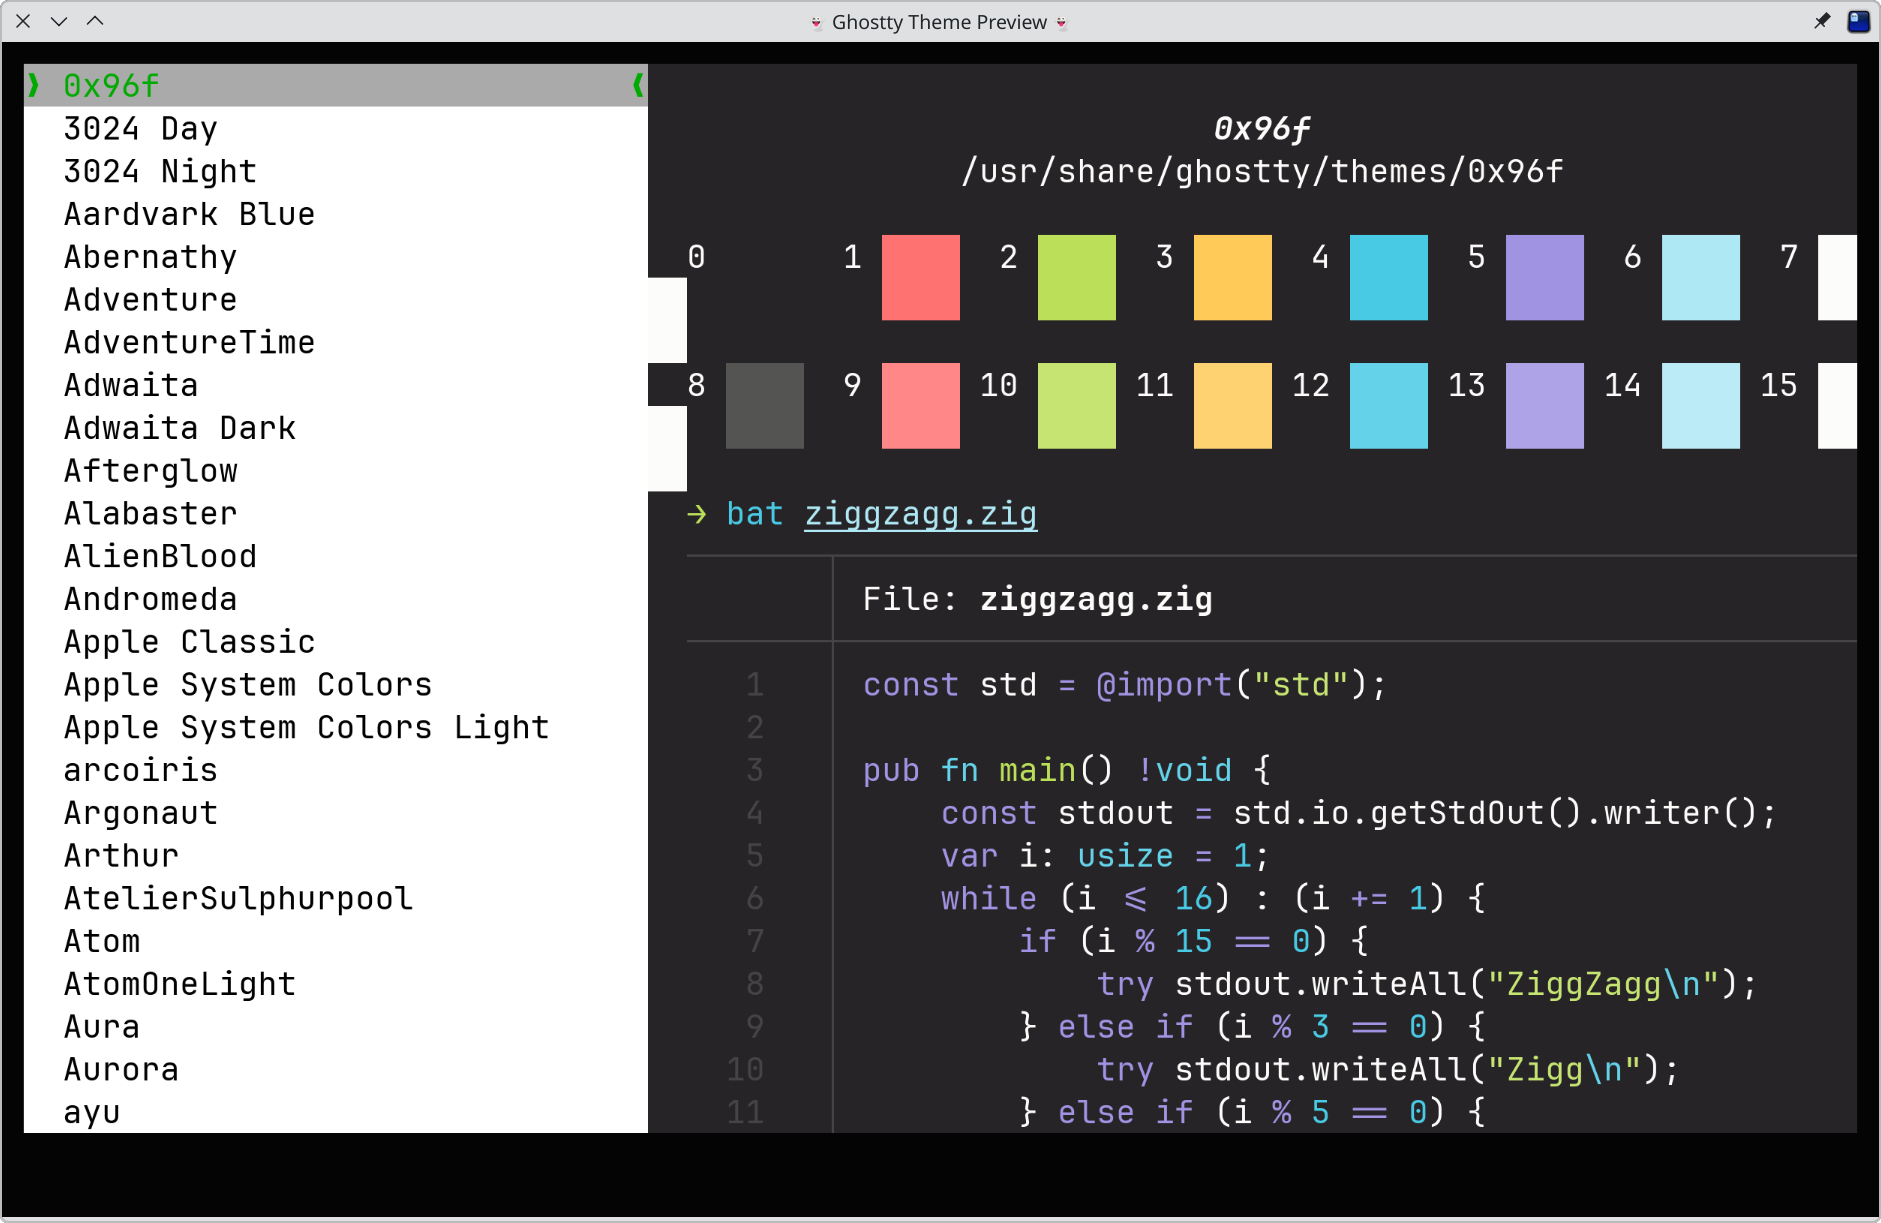
It is also important that keyboard shortcuts are easy to customize. Everyone has something different in their muscle memory here.
Cross-platform, yet optimized
Ghostty supports multiple windows, tabs, and splits. This makes it easier to work on several tasks at once and improves productivity.
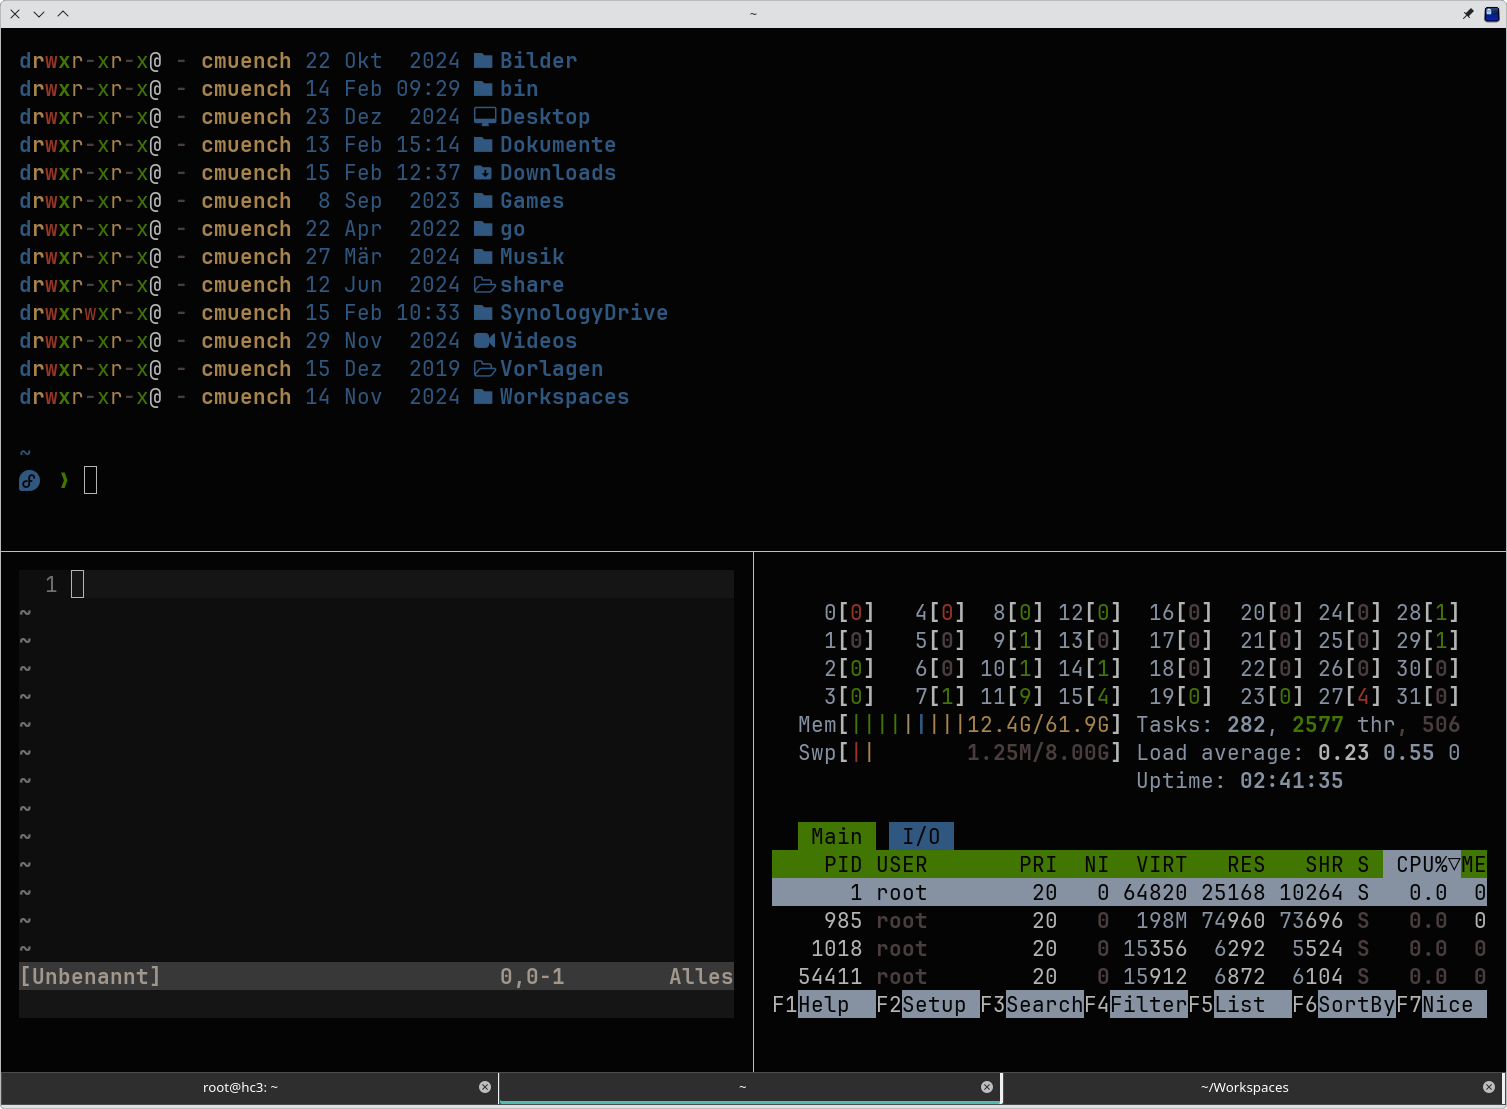
Ghostty is designed as a cross-platform solution, meaning it works consistently across different operating systems such as MacOS and Linux.
To make users feel at home, it aims to use the libraries commonly used for UI development on each platform wherever possible. On the Mac, you get a native Mac application developed with SwiftUI, offering basic features such as real windows, menu bars, and a GUI for settings.
On Linux, there is SSD support for Wayland. X11 is not really supported at the moment. I cannot say much about that, though, because I now use Wayland on my Linux machine. At least proper support for the (old) X11 is also on the roadmap. On Linux, it uses GTK Adwaita. That comes from the Gnome world. I use KDE myself. However, release 1.1 has now also delivered an improvement for KDE, optimizing the application's appearance for the Plasma desktop.
Important for me: Ghostty offers tabs and split windows directly within the application. For people who use Termux, that may not be so important.
Sharing configuration between MacOS and Linux
One reason I switched to Ghostty was the desire to find a solution that was both powerful and user-friendly, allowing me to switch between MacOS and Linux without constantly having to adjust my settings. In the past, I had many problems with escape sequences in other emulators, which often led to unwanted behavior. Ghostty won me over with its clarity and well-thought-out user interface.
How did I solve this for myself?
On MacOS and Linux, the configuration is loaded from the file ~/.config/ghostty/config.
Most Ghostty settings are designed to work on all systems or, if they are compatible with only one platform, simply to be ignored on the other. That means there is basically not much you can misconfigure.
My basic configuration currently looks like this (as of February 15, 2025):
# -------------------------------------------
# APPEARANCE
# -------------------------------------------

# Themes
#theme = dark:Everblush,light:primary
#theme = Everblush
theme = Adventure

window-decoration=auto
window-width=120
window-height=40
window-padding-x = 10
window-padding-y = 20
window-padding-balance = true
window-inherit-font-size = true
window-colorspace = "display-p3"

window-theme = ghostty
window-save-state = always

cursor-style = block
cursor-style-blink = false

#background-opacity = 0.95
#unfocused-split-opacity = 0.8
background-blur-radius = 20

# Font configuration
font-family = JetBrainsMono Nerd Font
font-size = 16.0

# Clipboard
copy-on-select = clipboard
clipboard-read = allow
clipboard-write = allow

app-notifications=no-clipboard-copy

selection-foreground = 111111
selection-background = efefef

scrollback-limit = 50_000_000

# Shell
shell-integration = zsh
shell-integration-features = true

# If true, new windows and tabs will inherit the working directory of the
# previously focused window. If no window was previously focused,
# the default working directory will be used (the working-directory option).
window-inherit-working-directory = true

# -------------------------------------------
# KEYBINDINGS
# -------------------------------------------

# see: https://github.com/ghostty-org/ghostty/blob/main/src/input/key.zig

keybind = super+enter=toggle_split_zoom

# Split panes
keybind = alt+enter=new_split:down
keybind = alt+shift+enter=new_split:right
keybind = alt+shift+left=new_split:left
keybind = alt+shift+right=new_split:right
keybind = alt+shift+up=new_split:up
keybind = alt+shift+down=new_split:down


# Pane navigation
keybind = alt+left=goto_split:left
keybind = alt+right=goto_split:right
keybind = alt+up=goto_split:top
keybind = alt+down=goto_split:bottom

# Tab navigation
keybind = ctrl+shift+t=new_tab
keybind = shift+left=previous_tab
keybind = shift+right=next_tab

# Resize panes
keybind = ctrl+shift+left=resize_split:left,20
keybind = ctrl+shift+right=resize_split:right,20
keybind = ctrl+shift+up=resize_split:up,20
keybind = ctrl+shift+down=resize_split:down,20

# Font Size ("zoom")
#keybind = ctrl+kb_add=increase_font_size:1
#keybind = ctrl+kb_subtract=decrease_font_size:1

# Themes (currently not possible)
#keybind = command+alt+d=theme:Everblush
#keybind = command+alt+l=theme:primary
As you can see, I have experimented a little with the themes. The current theme has a fairly dark background, which I find more comfortable. A light theme is sometimes better when presenting.
For the keyboard shortcuts, I tried to keep the ones I am used to for splitting windows and switching between tabs.
How did I handle the special configuration for MacOS and Linux?
For that, I added the following at the end of the configuration:
# -------------------------------------------
# Other config files
# -------------------------------------------

config-file = ?linux
config-file = ?macos
The question mark here says that the filenames linux and macos are optional. If the file exists, it is loaded; otherwise, it is not.
I version my configuration with yadm in GIT. What I do now is put the file ~/.config/ghostty/config into GIT.
I have the Linux and MacOS files listed in a ~/.config/ghostty/.gitignore.
The files are almost empty, though, because, as described earlier, nearly all settings are already covered by the basic configuration file.
Here is my Linux configuration:
gtk-adwaita = false
gtk-tabs-location = bottom
On Linux, I put my tab display at the bottom. The default follows Gnome, where the tabs are at the top. And I turn Adwaita off because I prefer KDE's Plasma appearance.
On the Mac, I only tweaked the appearance a little and set the following:
background-opacity = 0.9
background-blur-radius = 10
The built-in commands are also handy for quickly checking the configuration or simply viewing it.
ghostty +list-fonts shows the installed fonts along with their names, so you do not have to guess what they need to be called. I know that problem from Kitty, for example.
ghostty +list-keybinds shows all currently configured keyboard shortcuts.
ghostty +list-actions shows the actions available for keyboard shortcuts. It is particularly helpful to run it as ghostty +list-actions --docs, which also provides a description right away.
ghostty +list-colors shows the current theme's colors with their names and hex values.
Conclusion
In conclusion, Ghostty is not just another terminal emulator; it makes me more efficient across all the platforms I use. I have to think less about the individual platform, since everything is very similar yet optimized for the OS.
It is also very fast thanks to GPU rendering.
It is important to me that the terminal runs reliably, too. And that is exactly what Ghostty does for me. It is a stable tool for everyday use.
Does Ghostty deserve all the attention? Yes, because it is simple, stable, fast, and needs very little configuration.
Official Ghostty website: https://ghostty.org
Github: https://github.com/ghostty-org