
A few years ago, I tried to put my local configuration under version control somehow. The advantage is that you can undo changes to your settings. You can also share the settings between different machines.
One idea back then was to put your dotfiles in a directory and set up a GIT repository there. How do the configurations then get to the right place? Symlinks were often the answer. This works well in most cases, but there are a few limitations.
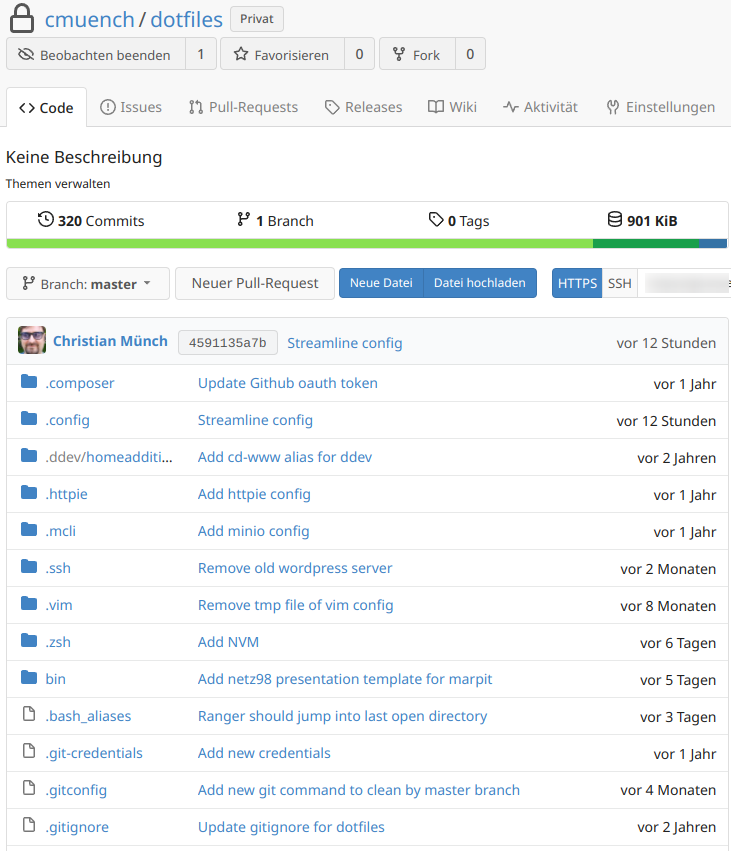
My dotfiles repository on my own Gitea server.
Symlinks do not work across multiple hard drives. Some programs resolve symlinks incorrectly, which then causes problems. There is maintenance work too. You then have to manually move a program's configuration file and manually create a symlink.
GIT bare repository
A colleague showed me an article from the Atlassian blog back then. The idea in the blog article was absolutely brilliant.
You use GIT to create what is called a bare repository.
The idea behind this is that data storage (the directory where GIT stores its objects) is separated from the working directory. You then use git and give it the path to the bare repository and the path to the working directory. And here comes the clever part. You define your entire home directory as the working directory!
It is simple and brilliant at the same time.
You can now add any files, including configuration files, to your GIT repository.
You can then send that to a remote repository. And just like that, the problem is solved.
The article also suggests creating a config alias and using that to work with it. Great stuff. I did that for a few years. Until I discovered yadm.
Yet Another Dotfiles Manager
What does yadm do differently from the technology mentioned above? The short answer: nothing.
The principle of yadm is exactly the same. The only difference is that I do not have to maintain my own scripts, and many things have already been solved for me. A classic case of don't reinvent the wheel.
Yadm is easy to install1.
MacOS
brew install yadm
Arch Linux
sudo pacman -S yadm
Ubuntu
sudo apt-get install yadm
After installation, simply initialize yadm.
yadm init
This creates the bare repository too.
You can then do everything you would do with the git CLI command. Instead of git, you simply use the yadm command.
If, for example, I want to put my .bashrc file under version control, a simple yadm add .gitignore is enough. Then run yadm commit, and the file is versioned locally.
Sharing the configuration with other computers
A remote repository can be added just as in git using yadm remote add origin <url>.
Once you have transferred your repository to a remote server using yadm push -u origin main, you can make the same configuration available on another computer.
yadm clone <remote-url>
This clones all the files and puts them in the corresponding locations too.
If files already exist at those locations on the system, there will of course be a conflict in GIT.
You can display these with yadm status and resolve them. Just as with any other GIT project.
On my own computer, I also created an "update-all.sh" script that starts the appropriate update routines depending on the operating system.
As the first command on all my systems, I always run yadm pull to avoid conflicts.
Additional features
yadm can do a few other nice things too.
It is best to read up on it a little.
The yadm command, run without arguments, also displays a good overview.
Running man yadm is helpful too.
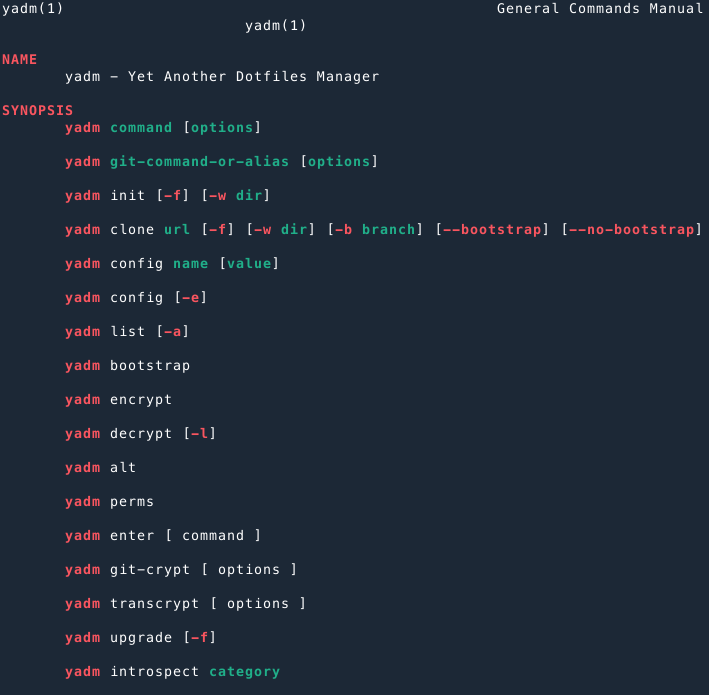
One feature particularly worth mentioning is the ability to store files in encrypted form.
See: https://yadm.io/docs/encryption
That is it for starters. I hope you can take something away from this blog article.
For me, this is an approach I would never want to be without again. Especially when you need to set up a computer from scratch, this approach is worth its weight in gold!
yadm:
- https://yadm.io
Alternative tools:
- https://www.chezmoi.io
- https://github.com/anishathalye/dotbot
- https://www.atlassian.com/git/tutorials/dotfiles
https://yadm.io/docs/install ↩