Last week, I listened to a podcast about golang and modern command-line applications from Charm.
If you have not seen this yet, catch up on it. The command line can be much more impressive than we are used to.
There are various reasons why command lines still look like they did 30 years ago. In the podcast, the Kitty terminal emulator received a lot of praise.
Since the terminal emulator is also cross-platform, I simply had to try it. I have been looking for a solution that works the same on my work MacBook and on my Linux computers for a while. Kitty is available for both Linux and MacOS. I do not care about Windows here.
Installation
On my Arch Linux, installation could not have been easier. Kitty is maintained as a package and can therefore be installed via pacman.
sudo pacman -S kitty
On the Mac, I was able to install it just as easily through Homebrew.
brew install kitty
First impression
My first impression of Kitty was interesting. The terminal feels very fast.
That is surely down to GPU acceleration. Fonts look remarkably sharp. On my Linux computer, I can subjectively see a difference. Everything looks like it does on my MacBook's Retina display.
According to benchmarks, Kitty is also supposed to put significantly less load on the CPU, which can be noticeable when scrolling through longer screen output in particular.
So far, I can confirm that. Everything is fast and stylish.
What surprised me, though, was that a right-click simply did nothing.
But that is intentional. Kitty consistently focuses on using the keyboard. Still, there is mouse support. It is mainly intended for opening URLs in text in the browser. Tabs are supported too and can be switched with the mouse. But even that is faster with the keyboard. Just as almost everything is faster with the keyboard once the shortcuts are in your muscle memory.
Windows / layouts
Like any modern terminal emulator, you can open multiple windows in one tab.
Kitty then automatically arranges the windows, like a tiling window manager.
How the windows are arranged can be customized through the configuration. Generally, pretty much everything can be customized through the configuration. But we will get to that in a moment.
Back to window arrangement. The arrangement can be changed quickly using layouts. Simply press Ctrl + Shift + l to change the layout, or press the key combination repeatedly to cycle through them.
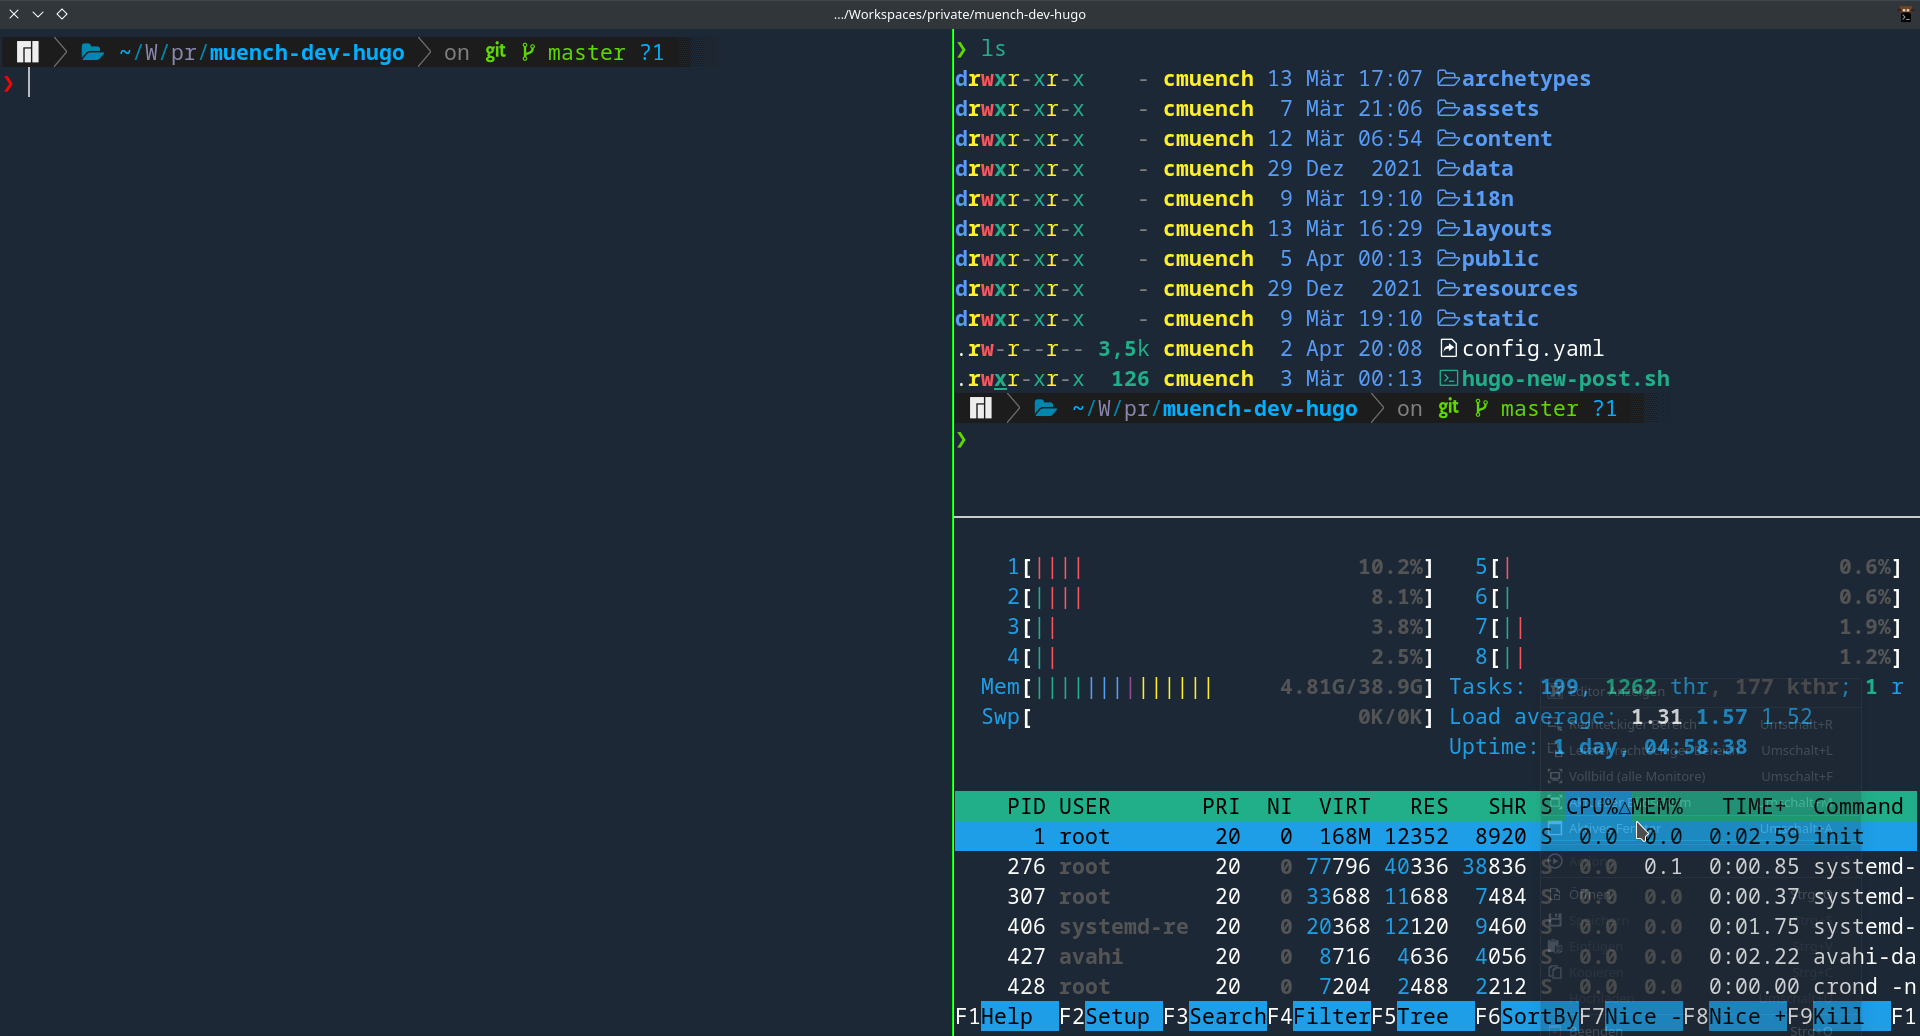
Of course, windows can also be resized or moved to a different position (within the current layout) using the keyboard.
Configuration
Kitty is configured strictly through the file ~/.config/kitty/kitty.conf. If the file is not automatically present after installation, you can create it manually.
On Arch Linux, a template with corresponding help text can be found under /usr/share/doc/kitty/kitty.conf.
Running man kitty is a huge help for learning all the important keyboard shortcuts.
With man 5 kitty.conf, you also get instructions on what can be adjusted in the configuration.
Since I want to use Kitty on Linux and MacOS, but use different keyboards, for example, I looked for a way to sensibly set up the configuration for both operating systems.
I found the following solution.
I put everything shared by both systems into a file called _general.conf.
I stored the configuration settings that should apply specifically to Linux or MacOS in the files _linux.conf and _darwin.conf.
/home/cmuench/.config/kitty
├── _darwin.conf
├── _general.conf
├── _linux.conf
└── kitty.conf
In the respective kitty.conf on each operating system, I then used the option to include the files.
Linux
include _general.conf
include _linux.conf
MacOS
include _general.conf
include _darwin.conf
To keep the configuration up to date everywhere, I have been using yadm for a very long time. That works extremely well with the Kitty configuration too.
Nerd Fonts look particularly good on the command line.
On Linux, I had to search a little before finding the correct font name for the configuration.
In the end, font_family MesloLGS NF produced the look shown in the screenshot.
If you are interested in my configuration in more detail, I have linked it in the box at the very end of the blog post.
Other great things
Kitty comes with several things that familiar terminal emulators do not offer. Special features are available through plugins, called kittens.
Here are a few selected features.
Emojis
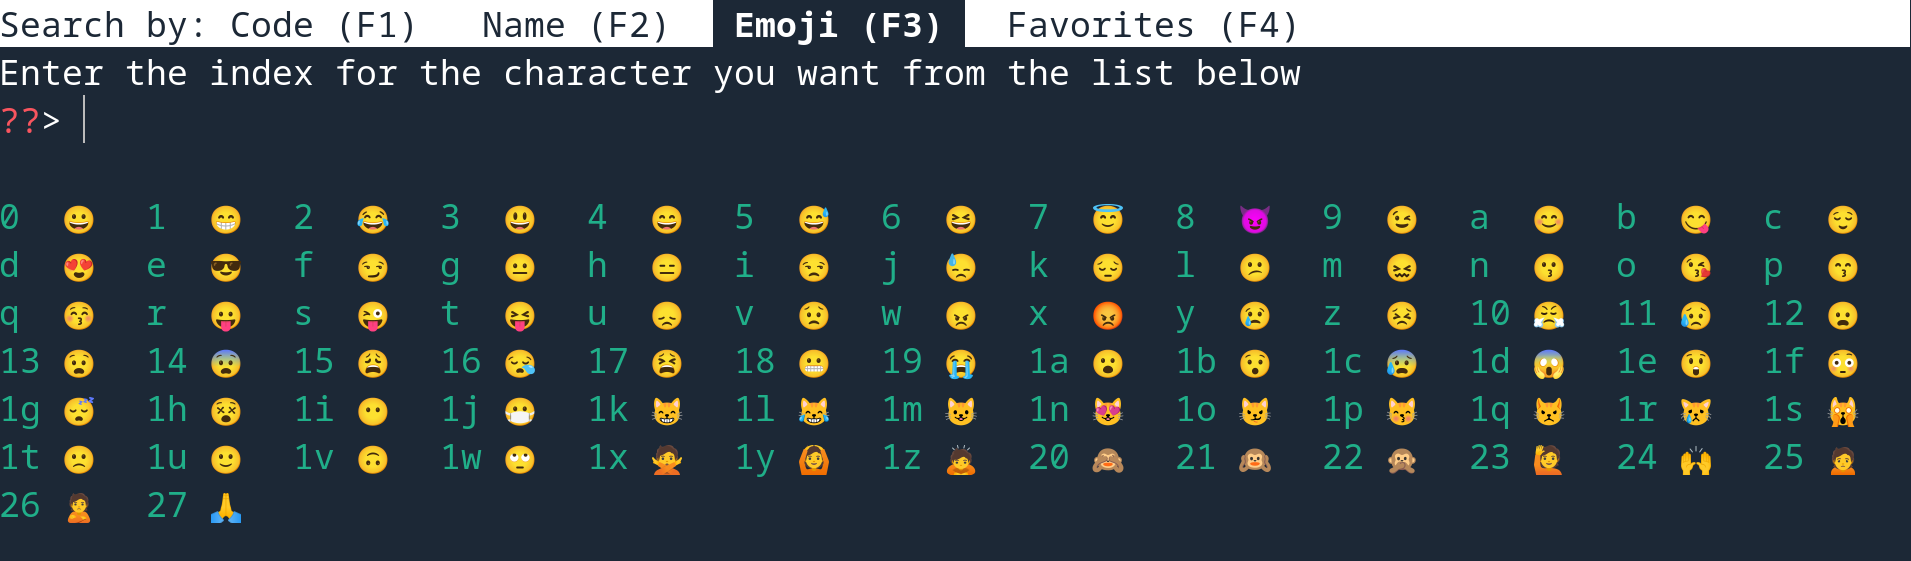
Emojis are supported directly.
The key combination Ctrl+Shift+u (I remember the "u" as "Unicode") opens an emoji browser directly in the console. The selected character is then inserted directly at the cursor position.
Images directly in the terminal
To display images directly in the terminal, ImageMagick needs to be installed. But it is easy to install.
After that, you can call the icat kitten.
kitty +kitten icat <dateiname>
An alias like this is handy:
alias icat='kitty +kitten icat'
In action, you can, for example, quickly display an old Magento logo in the terminal.
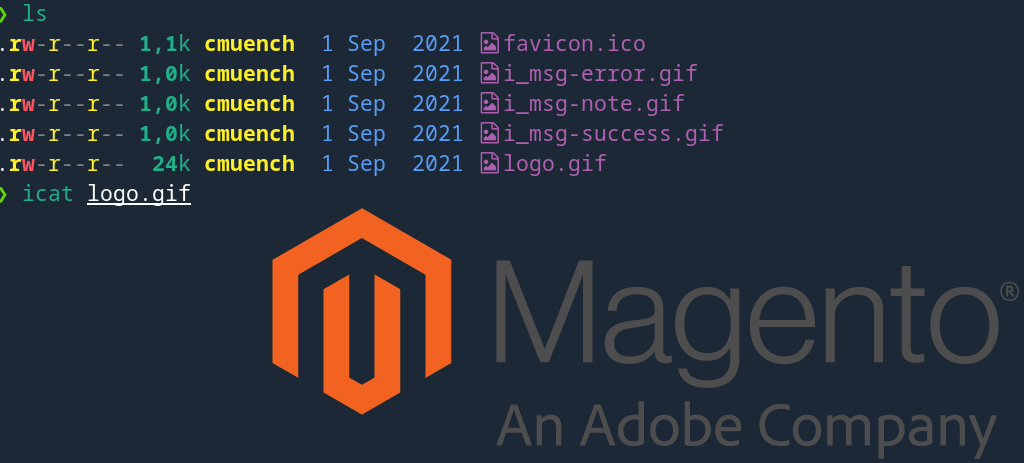
With the Terminal graphics protocol, Kitty even defines its own specification for handling graphics in the terminal.
Themes
Of course, Kitty's terminal colors can be customized to your own taste.
It is easier if you use the built-in theme browser.
kitty +kitten themes
I chose the dark Galaxy theme myself.
For presentations, though, it is sometimes better to use a light theme.
Conveniently, you can assign theme selection to a keyboard shortcut too.
In my case, I assigned the F9 and F10 keys to this.
map F9 launch kitty +kitten themes --reload-in=all Material
map F10 launch kitty +kitten themes --reload-in=all Galaxy
The font can also be made larger or smaller using the keyboard.
For this, I set up some additional shortcuts that speed things up a little too.
map ctrl+shift+0 change_font_size all 0
map ctrl+shift+9 change_font_size all +10%
SSH
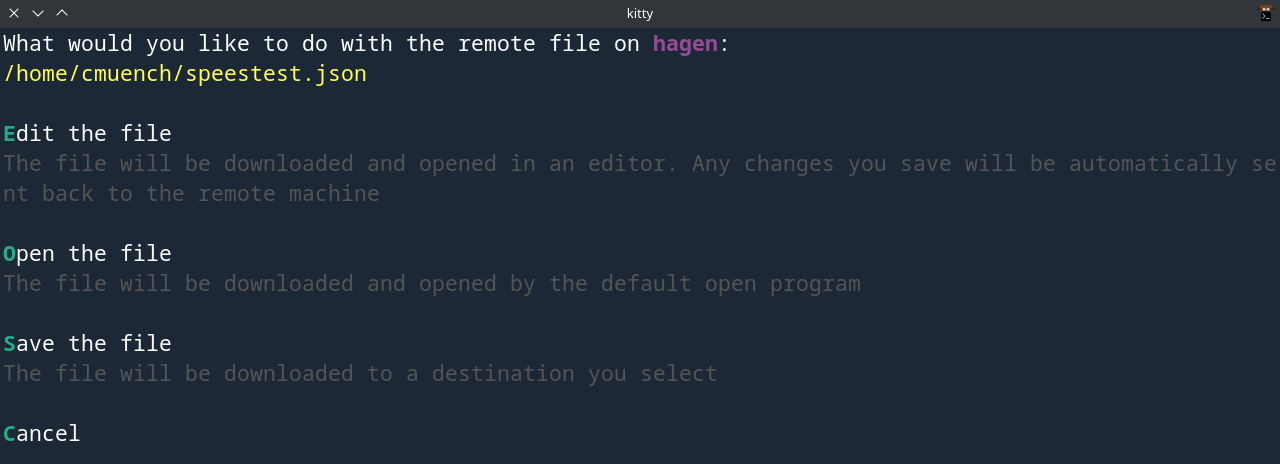
If you log into an external computer via SSH through Kitty, you can, for example, download a file to your local computer directly from the terminal.
You can test this by running ls --hyperlink=auto on the remote computer.
If you then click on a file, Kitty opens a window in the terminal that lets you edit the selected file with an editor on your local computer or download it.
Scripting
Kitty can also be customized and automated in many ways "from the outside" using scripts.
https://sw.kovidgoyal.net/kitty/remote-control/
- https://sw.kovidgoyal.net/kitty/
- https://charm.sh
- My complete Kitty configuration